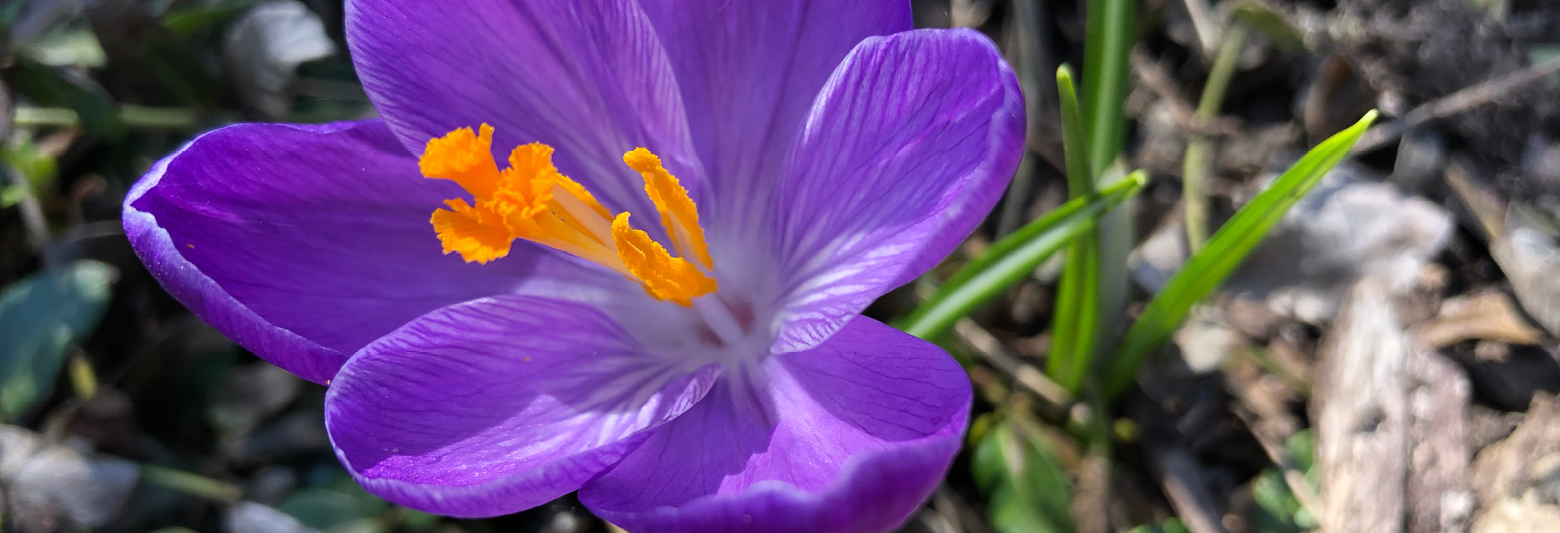
“So many Geraniums, so little time.” If this is your motto, we completely understand. There are so many fantastic varieties to choose from, but geranium x cantabrigiense ‘Biokovo’ is extraordinary, and is one bloom you should certainly make time for.
Unlike our tender summer annual commonly called geranium (genus: Pelargonium), true geraniums are hardy, low growing, groundcover perennials commonly known as “cranesbill.” They look nothing like the more familiar, misnamed geraniums and they certainly do not behave similarly. The more you learn about these true geraniums, however, the more you will love them.
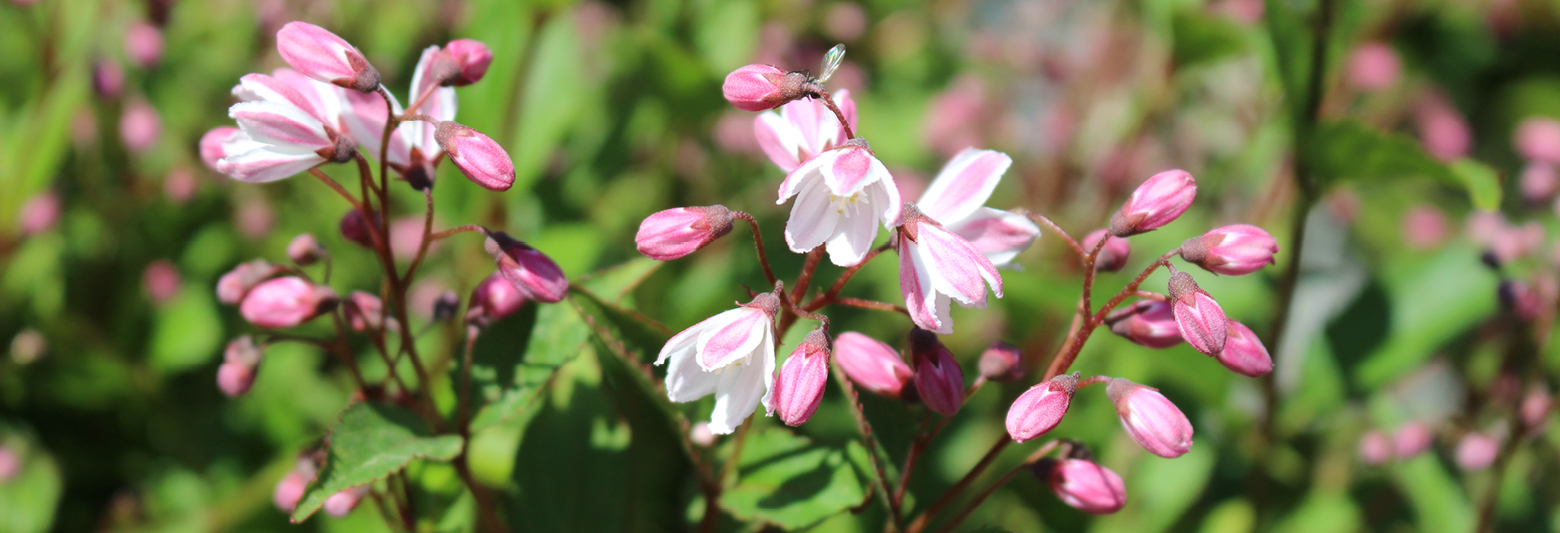
About ‘Biokovo’
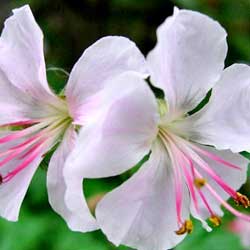
G. ‘Biokovo’, originally found growing in the mountains of Croatia, is cold hardy and semi-evergreen in hardiness zones 5-8. Growing up to a foot tall and 12-18 inches wide, this cranesbill blooms in late spring, generally stretching from May to June with sporadic reblooming. The five-petaled, three-quarter-inch, white flowers show a tinge of pink in the center, surrounding brighter pink pistils topped with golden yellow stamens. The petals have a slightly frilly texture, giving these blooms a romantic delicacy. The leaves are slightly hairy, lobed, medium green, and develop an orange-red tint in the fall to provide beauty and color in different seasons. The foliage is highly aromatic with a pungent, orange-like scent when bruised.
Planting Geranium ‘Biokovo’
Produced on spreading rhizomes that can vigorously cover an area, G. ‘Biokovo’ is easily grown in well-drained soil with average fertility and neutral (7.0) pH. It is relatively drought-tolerant once established and will thrive planted in either full sun or part shade, but the hottest afternoon sun is best avoided. Deep shade will also stunt the plant’s growth and may limit blooming. Moist soil is suitable, but the soil should not be over saturated and only average watering is required. Fertilize in early spring for the best nutrition and most vigorous blooming. Plant divisions may be done in either spring or fall to expand the ‘Biokovo’ in your landscape or share it with other enthusiastic true geranium lovers.
‘Biokovo’ in the Landscape
Use ‘Biokova’ in the front of the perennial border and in rock gardens to add color, texture and softness. It will steal the show as a long-blooming ground cover or edging plant, and can be ideal to add natural, flowing lines to the edge of flowerbeds, driveways or sidewalks. There are no serious pest or disease problems associated with this or any of the many other hardy geraniums. It attracts butterflies and resists deer and rabbits. Why wait to add this beauty to your flowerbeds?