Monthly Archives: January 2025

Helleborus – A Perennial for the Ages

When selecting new additions for the perennial garden it is almost impossible to find one that will provide year round interest. This difficulty is further compounded when you need a shade-loving perennial. Well, what was once considered impossible for a perennial is now possible with the Helleborus!

About Helleborus

Although there are many species of Helleborus, the most popular is the Lenten Rose (H. orientalis). Bred especially for its unusual range of color, this cultivar is a low maintenance, long blooming, shade loving, evergreen perennial.

  • Habit
    The neatly mounded form of the Lenten Rose grows approximately 12-24” high by 18-24” wide.
  • Flowers
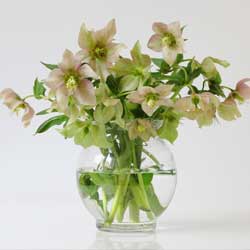
    The nodding flowers of H. orientalis resemble a single rose and are about 2-2.5 inches across. They are available in range of colors that include white, cream, lemon, chartreuse, lime, pink, rose, maroon, plum and almost black. Many varieties can even be speckled. Flowers appear in early to mid-March, while most other perennials are still sleeping, and last well into May. This plant has the unique ability to bloom in freezing temperatures often with snow still on the ground.
  • Leaf
    The Lenten Rose boasts a large, glossy, leathery, evergreen, compound leaf. Each leaf is made up of 7-9 serrated leaflets borne at the end of the leaf stalk, producing an umbrella like effect.

Helleborus in the Landscape

This perennial works well near a walkway so that it can be easily enjoyed before the garden season even begins. Elevate the plant for a better view of the face of the nodding flowers. Use all Helleborus as specimens in a small garden or near a pond, in mass as an evergreen groundcover or to provide textural contrast in the mixed border. At home in a woodland garden, Hellebores work well with hostas, ferns, brunneras, snowdrops, pulmonarias and winter aconites. It can be attractive surrounding a tree, tucked next to a deck or in a rock garden.

Growing Helleborus

Hardy in zones 4-9, Helleborus orientalis grows best in heavy to light shade. It prefers moist, well-drained soil, rich in humus and organic material, and is pH adaptable for a wide soil range. Tolerant of summer heat and humidity, the Lenten Rose is adaptable to drier soils, and competes well with tree roots once it is established. Mulch well to retain moisture and fertilize in early spring before the flower stalks begin to lengthen. By the end of the winter, leaves can often become tattered or scorched. Simply cut off any unsightly leaves and fresh new leaves will soon replace them.

If you wish to divide H. orientalis, do so in the late summer to early fall. Make sure that you dig a generous root ball and provide plenty of water until established. The Hellebores do not like to be disturbed and are slow to recover when moved, so be gentle. Helleborus orientalis may be propagated from seed, however, seeds take six months to germinate and the young plants take three years to bloom so patience is essential – but well worthwhile for the stunning results.

Hellebores are not prone to any pest or disease, and these plants are deer resistant.  

Other Popular Hellebores

While the Lenten Rose may be the most popular of the Helleborus plants, it is not your only option. Other popular Hellebores include:

  • H. foetidus – Stinking Hellebore
    The flowers of this Hellebore are light green, and the evergreen leaves are more deeply lobed and sharply serrated than those of the Lenten Rose. The flowers of the Stinking Hellebore are said to be slightly malodorous.
  • H. niger – Christmas Rose
    Similar in appearance to the Lenten Rose, this Helleborus must be vegetatively propagated and blooms earlier in the season the Lenten Rose. It can be a great option for extending the blooming season in your shade garden.

No matter which Helleborus you would like to try, you’re sure to love the results when you add these shade-loving perennials to your landscape.
helleborus-1

Feeding Birds in Winter

Winter is a crucial time for birds. As temperatures drop, there are no insects to eat and the natural seeds are covered with snow, and as the season lengthens, the berries and crab apples are long gone. Birds need enough food to maintain their body temperatures and must search for food from sun up to dusk. If you provide nutritious options at feeders, birds will flock to your yard all winter long.

Best Foods for Winter Birds

Fatty, high-calorie foods are important for winter birds. Fat is metabolized into energy much quicker and more efficiently than seeds to help them maintain their high body temperature necessary for survival.

A number of backyard foods are excellent sources of quick energy and protein to nourish winter birds, including…

  • Suet
    Suet cakes provide an excellent energy source for birds and are often mixed with seeds, berries, fruit and peanut butter to appeal to a wider range of species. These fatty cakes are easy to add to cage or mesh feeders, or suet balls, plugs, shreds and nuggets are also available.
  • Peanut Butter
    Peanut Butter is also very popular with a large number of birds. To reduce the cost of feeding peanut butter, you can melt it down and mix it with suet or mix in cornmeal so it is not quite so sticky. Smear peanut butter on pine cones and hang them for fast, easy feeders.
  • Seeds
    When native seeds may all be eaten or hidden under snow, seeds at feeders are very important. Seeds contain high levels of carbohydrates that are turned into glucose to help with the bird’s high energy demands. They also are a good source for vitamins and some protein. Make sure the seed you purchase does not have a lot of fillers (milo and wheat seeds) that are not eaten. Mixes with sunflower seeds and millet are preferred.
  • Sunflower Seeds
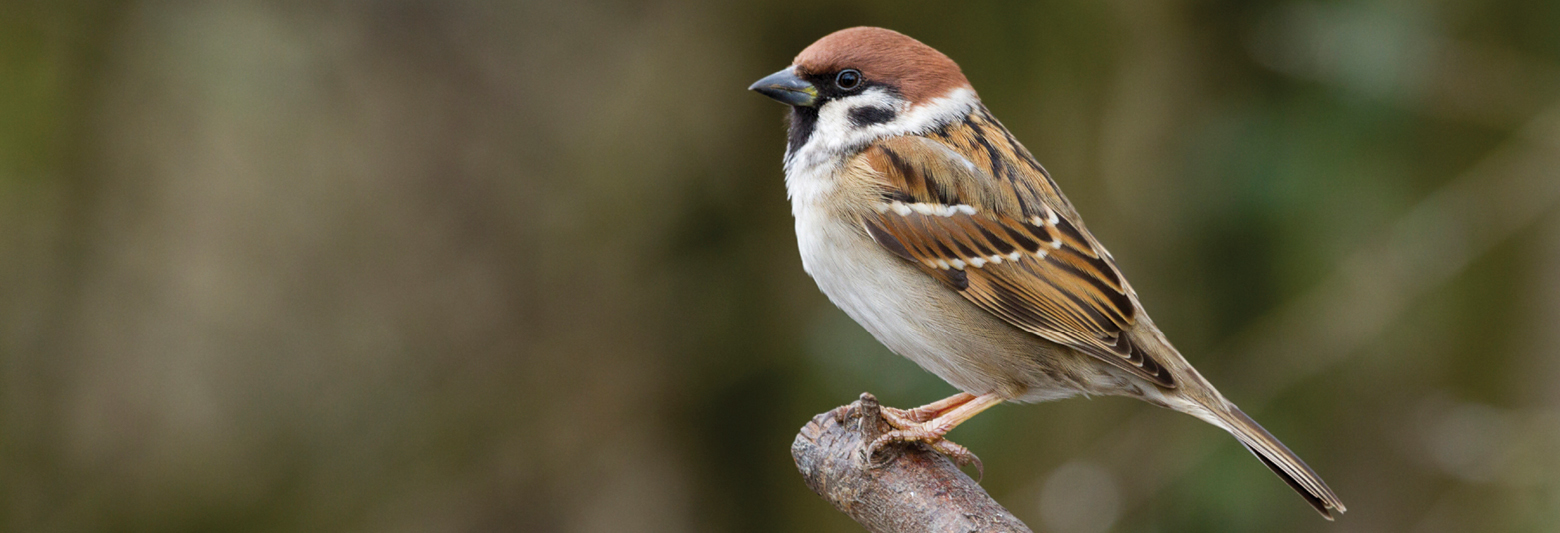
    If you want to offer just one seed to birds, you can’t beat sunflower seed. Black oil sunflower seeds have a softer shell than the striped seeds and can be eaten by sparrows and juncos, as well as cardinals, finches, jays and many other birds. These seeds have a number of advantages: they are not overly expensive, they appeal to a wider variety of species and they contain a larger amount of vegetable oil to help supply the energy birds need to maintain their body heat in the winter. They are also a good source of protein.
  • Cracked Corn
    Cracked Corn is a good, inexpensive food that appeals to a large number of birds, including doves, sparrows, juncos, quail and cardinals, as well as starlings and grackles. Sprinkle the corn liberally right on the ground for larger ground-feeding birds to enjoy.
  • Nyjer
    Nyjer (thistle) seeds are small, oil-rich black seeds typically offered in tube feeders or fine mesh feeders small birds can cling to as they feed. These seeds are tiny but they pack a huge punch for oil and calories, ideal for winter feeding. Nyjer is a favorite of goldfinches, pine siskins and redpolls.
  • Nuts
    Nut meats are highly nutritious and provide necessary amino acids and protein a bird’s body cannot produce. They also have oil and are high in energy. Peanuts are the most popular nuts to offer to backyard birds, but walnuts are also a good option. Avoid using any nuts that are salted or seasoned, however, as they are not healthy for birds.

Other Winter Feeding Tips

Just providing food for winter birds isn’t enough to help your feathered friends stay well-nourished during the coldest months of the year. For the best feeding…

  • Position feeders 5-10 feet away from bushes and shrubs that may conceal hungry predators.
  • Use broad baffles to keep squirrels off feeders and to shelter the feeders from snow and freezing rain.
  • Refill feeders frequently so birds do not need to search for a more reliable food source, especially right before and after storms.
  • Use multiple feeders so you can offer a wider variety of different foods and more aggressive birds cannot monopolize the feeder.
  • Provide water in a heated bird bath so thirsty birds do not have to use critical energy to melt ice and snow to drink.

Feeding birds in the backyard can be a wonderful winter activity, and if you offer the best, calorie-rich foods birds need, you’ll be amazed at home many birds come visit the buffet.

feeding-birds-winter-2

feeding-birds-winter-3

feeding-birds-winter-1

Anti-Desiccants: Why, What, and When

You’ve removed late-autumn weeds, layered on the mulch, pruned appropriately, possibly even covered or wrapped your plants – so why do some still die in the winter, despite all your well-meaning efforts?

Many plants die during winter because they dry out, or desiccate. As temperatures drop, the ground freezes and plant roots cannot take water from the soil, no matter how much snow may fall. This causes the plant to use stored water from the leaves and stems as part of the transpiration process, during which water exits the plant through the leaves. If the sun is shining or the wind is blowing, transpiration increases and more water exits the leaves. If no water is available and transpiration continues, the plant will soon die. Because evergreen plants do not drop their leaves, they are especially susceptible to this death.

Preventing Desiccation

How can you help your plants stay well-hydrated through the frozen drought of winter? The first step is to remember healthy plants in the summer survive the hardships of winter far better than sickly or stressed plants. Through the spring, summer and fall, you should always be on the lookout for signs of pests, diseases and damage, and take all necessary steps to keep your plants thriving.

Second, be sure to water well even when temperatures begin dropping below freezing. Later, if the ground thaws, water before the ground refreezes. Water slowly to provide a deep drink without waterlogging the roots, however, so they are not damaged by ice.

The third step is to use an anti-desiccant, also called an anti-transpirant, to reduce the moisture loss from the leaves and needles. Because broadleaf evergreens such as boxwood, aucuba, holly, rhododendron, many laurels, Japanese skimmia and leucothoe do not drop their leaves, they are especially vulnerable to winter death. Using a product such as Wilt-Pruf to reduce transpiration by protecting the pores will save many broadleaf evergreens.

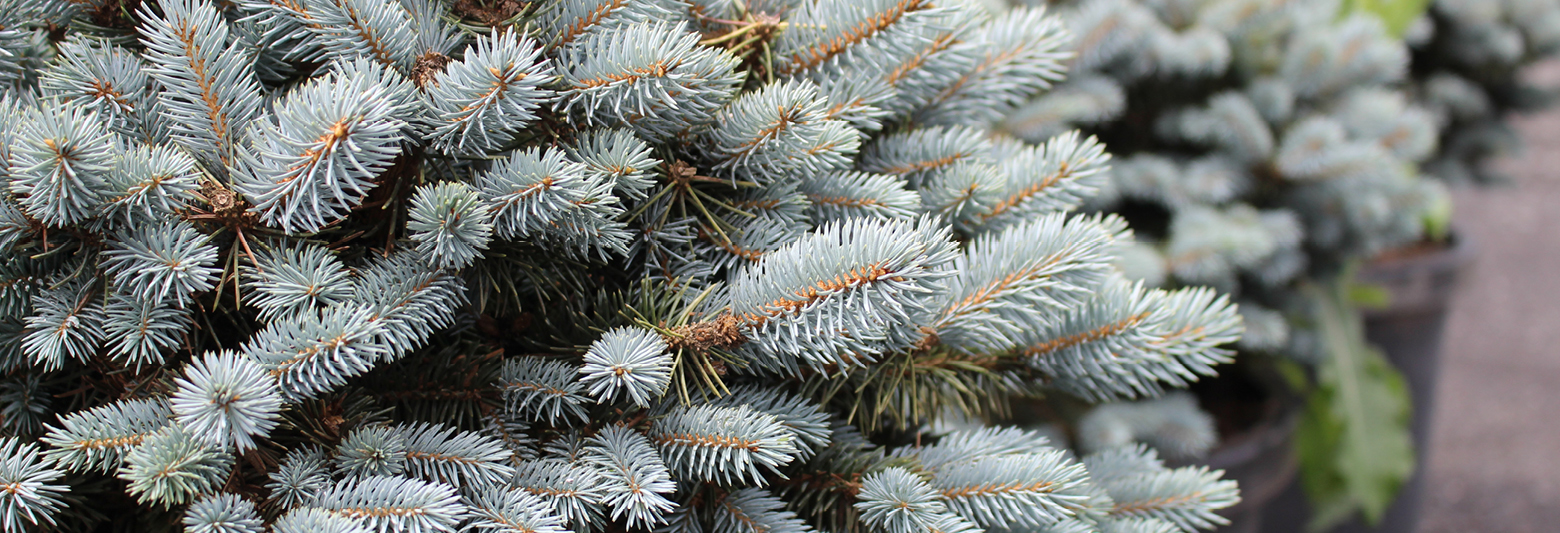
When using any horticultural product, be sure to check the label and follow all instructions properly. Some conifers such as cedar, cypress, juniper and pine may benefit from these products. However, be sure to read the instructions to prevent burning specific conifers. Also, do not use on “waxy” blue conifers, such as blue spruce, which already have an oily protective film on the nettles.

Here are a few reminders to get the best protection from an anti-desiccant:

  • Plan to apply when day temperatures begin dropping below 50⁰ Fahrenheit. Apply when temperatures are above freezing on a dry day with no rain or snow anticipated within 24 hours. This allows the product to thoroughly dry. Spraying in freezing temperatures will cause plant damage.
  • Do not spray conifers until thoroughly dormant, generally in late winter. This prevents trapping moisture in the needles which could burst when frozen.
  • Generously apply to dry leaves and needles. Don’t forget the undersides. Spray from several angles to ensure complete coverage.
  • Because the anti-desiccant will break down in light and warmth, reapply in late winter on a dry day when temperatures are above freezing for at least 24 hours.

Beyond Winter Drought

Other than protecting your landscape evergreens from winter drought, there are other uses for anti-desiccants. Many gardeners use it to protect newly transplanted shrubs from drying winds and sunshine as they settle in. It also provides protection to tender bulbs going into storage. A quick spray in early winter protects rose canes and hydrangea stems. Spraying onto live or cut Christmas trees and carved pumpkins slows the drying process, making them last longer for greater holiday enjoyment.

To answer your questions, or to choose the best product for your landscape plants, come in to discuss anti-desiccants with one of our friendly and knowledgeable staff members. Together, we can reduce the number of plants you lose to the dryness of winter and keep your garden beautiful and healthy.

AntiDesiccant_1AntiDesiccant_2AntiDesiccant_3

Creating Humidity for Houseplant Health

Have your houseplants been looking dingy and dry no matter how much you may water them? Have they lost the lustrous glow their foliage first had when you got them? Poor humidity may be the cause. Many of our houseplants hail from the tropics and grow in humidity of 50-80 percent, considerably more humid than typical homes. The trick is to know your plant’s preferences and be able satisfy it. Putting a cactus in the shower will cause it to rot, while a fern is perfectly happy.

But what can you do if you really want that fern in the family room where the humidity may only be 20 percent in the winter? If your plant has brown leaf tips or margins it probably needs more humidity and is asking you to increase it. Luckily, it’s easier to add humidity than it is to take it away.

Easy Ways to Increase Humidity

There are several ways you can easily increase the humidity around your houseplants. If they only need the air a little more humid, just one technique may be sufficient, but if they are humidity-loving plants, you may want to try several options at once to really give them a humidity boost.

  • Pebble Tray
    Place an inch of small pebbles, marbles, shells or gravel in a 2″ deep tray, half fill the tray with water and set your plant on the pebbles. Don’t set the pot in the water, as the wicking action will saturate the pot soil and could lead to rotting roots and overwatering. As the water in the tray evaporates, it increases the humidity immediately around the plant. When you water the plant, pour out the water from the tray to prevent mineral buildup, algae and insect growth.
  • Plant Grouping
    Rather than spacing plants throughout the room, group them together to take advantage of the moisture each plant produces through transpiration. Grouping plants can increase humidity by as much as 15 percent. Place the entire group on a pebble tray if additional humidity is required. Allow air circulation between the plants by ensuring the plants are not touching each other, and rotate individual plants periodically to encourage straight growth and distribute humidity absorption.
  • Misting
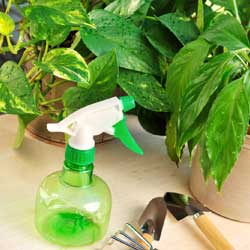
    Use a misting bottle daily to increase humidity and cleanse leaf pores, which tend to clog with dust. However, to prevent leaf rot, do not mist plants with “velvety” leaves such as African violets. Do not over-mist plants to the point where their leaves are dripping wet, or else they may suffer from overwatering.
  • Humidifiers
    Available in a variety of sizes, humidifiers increase the humidity in a larger space. You may also find yourself breathing better when using a humidifier. Our houses become very dry in the winter because of furnaces, heat pumps and fireplaces, and humidifiers can not only help houseplants, but can also help alleviate dry skin, limp hair, chapped lips and hacking coughs.
  • Terrariums
    If your house is just too dry for the plants you would like to grow, try planting them in a terrarium. These nearly enclosed vessels create miniature environments perfect for humidity-loving tropical plants such as ferns, orchids and mosses. You will still need to water your terrarium, but because much of the moisture is trapped, the humidity in the enclosure is much higher.

Keeping your humidity-loving houseplants happy in the winter isn’t difficult. Come in and see us to ask questions, get answers and pick up the simple supplies to make your home a houseplant haven.

HumidityforHouseplant_1

Keeping a Garden Journal

Do you remember exactly when you planted your seedlings last year? What was the date of the first frost? Did you see a unique cultivar at the nursery and wanted to give it a try? How well did that new pest-control technique work on your prize flowerbed? Whether you are recording your landscape, a vegetable garden or both, the details make the difference, and a garden journal can help you keep track of those details to build on your own gardening expertise.

What to Record

A garden journal does not have to be intimidating, and you do not have to be either an expert writer or an expert gardener to keep one. You are simply keeping record of your garden and notes on what worked, what didn’t, want you wanted to try, what you wanted to change and more. You might keep one journal just for your landscape, another for your vegetable garden, even one for an indoor herb garden. Depending on the journal type, you may record different things in different ways, but don’t worry – it’s your journal and you can keep it however you want.

  • Your Landscaping Garden Journal
    Use a journal to record your landscaping activities. A simple sketch of your landscape provides a basic plan. Track the dates of planting and blooming, fertilizer applications, pruning and other maintenance duties to determine if the activities are worthwhile and effective. Map the placement of bulbs and perennials so you don’t have to remember over the long season when they disappear. Note your color combinations. Did they look good or was something missing? Maybe you saw an article with some ideas to try, so tuck it in and remember try it.
  • Your Vegetable Garden Journal
    A journal can help you keep notes about your vegetable garden. Use graph paper to design your plantings. Next year you can use this sketch to plan your veggie rotation to keep your soil rich and your harvest productive. Note the dates of pest treatments, fertilization, thinning and other activities. By recording the details in a garden journal, it serves as your memory, reminding you what you planted, how it did and what you could do better and easier. Wouldn’t it be nice, at the end of the season, to see how much money you saved by growing your own produce? Keeping track of expenses and harvest quality will do it.
  • Your Indoor Garden Journal
    Whether you just have a few houseplants, a simple windowsill herb garden or an elaborate setup for starting seedlings, you can use a journal to keep track of all your plants. Note when you add new plants to your displays, the frequency of watering, foliage changes, bloom cycles and herb harvesting. Note seasonal changes in your plants, and when it is necessary to repot.

A garden journal provides a great place to save sketches, lists and photos. Depending upon your personal use, they can store excess seeds and plant tags, bed rotation and fertilizing schedules, even gardening brochures.

Now is a perfect time to start a garden journal. You’ve been cooped up in the house during the long winter and probably have lots of ideas about the upcoming garden. Beginning a garden journal now ignites your creativity, sets your goals for the upcoming year and lets you plot your upcoming journey. Twelve months from now, when you look back and review your goals and plans, you’ll see how much you’ve done. Then, you can look forward to the next year and make a great plan, thanks to the notes you’ve kept.

Come see our assortment of garden journals. Whether you prefer loose-leaf or bound, simple lined paper or adorned with sketches, we have just the right garden journal to get you excited about the upcoming gardening season. 

KeepingGardenJournal_1

Decorating Your Home With Houseplants

Bring the bright atmosphere of a tropical vacation into your home this winter with houseplants. An integral part of your home décor, houseplants not only artistically improve your home, they also cleanse and freshen your indoor air quality. Plants take in carbon dioxide and release clean, pure oxygen. Some plants even absorb certain air toxins, potentially harmful radiation or unpleasant smells. Houseplants also add welcome humidity to the air we breathe, and filter dust particles for a cleaner environment. While houseplants can improve your life in many ways, they must be selected to fit successfully into your lifestyle.

Don’t Consider Light Lightly

When selecting a foliage plant, first determine what type of light you have – this will be the best key to the plant’s health and survival. Look at the area where you would like to keep the plant through the entire day to determine if the light changes. You will also want to keep in mind the time of year – the light will change with different seasons as well as the angle of the sun. 

  • Low Light – 3-4 hours of indirect light. Don’t confuse this type of light with no light. If you can sit in the room and read comfortably without turning on a light, it is low light. If you must turn a light on, then it’s considered no light.
  • Medium Light – 4-6 hours of indirect or direct morning sun.
  • High Light – Direct or indirect sun for 6-8 hours a day. Direct afternoon sun in the winter can be too hot for many houseplants. Be careful this time of year because many plants can get sunscald.

No matter what the light levels in different rooms of your home, there are plants that can be comfortable there. If you aren’t sure what your light may be or which plants may thrive, we also recommend you talk to one of our experts about your particular situation for best results.

Low Light Plants

  • Aglaonema
  • Dracaena Warneckii
  • Homolomena
  • Dracaena Janet Craig
  • Pothos
  • Philodendron
  • Spathiphyllum
  • Philodendron Xanadu

Medium Light Plants

  • Corn Plant
  • Norfolk Island Pine
  • Bamboo Palm
  • Ming Aralia
  • Podocarpus
  • Schefflera Amate
  • Spathiphyllum Domino
  • Arboricola
  • Anthirium
  • Ficus Alii
  • Lubersii

High Light Plants

  • Palms
  • Yucca Cane
  • Sago Palm
  • Crotons
  • Fishtail Palm
  • Banana
  • Zamia

A Word About Watering

The smaller the pot, the more frequently you will need to water your houseplant. Small pots (2-3 inches) might need water every day depending on the plant’s needs and the richness of the soil. A 4-6 inch pot may need water every 3-4 days, whereas a 10-inch pot (or larger) usually only requires water every 4-6 days. These guidelines can change depending upon the location of the plant, the type of pot, variety of plant, soil condition, general humidity, time of year and weather conditions. Plants don’t utilize as much moisture on gray days as they do on sunny days.

Because so many factors can impact houseplant watering, determining the watering schedule for large pots (over 10 inches) can be difficult. To help, take a natural wooden dowel and push it into the soil until it reaches the bottom of the pot. After you pull the dowel out, you will be able to see the wetness on the bottom of the stick (if there is any). Also, remember that the larger the pot, the more water will be held in the soil at the bottom – even if there are drainage holes.

Fertilizing

Most foliage or non-flowering houseplants prefer 20-20-20 fertilizer once a month, year-round. You can increase the feeding to twice a month during the growing season. Flowering plants have different fertilizing needs depending on their bloom schedules and growth productivity. Investigate the needs of your individual plants and feed them appropriately.

Houseplants can add great beauty and many benefits to your home. Once you begin choosing houseplants, you’ll soon be enjoying them in every room and every season.