Monthly Archives: April 2024

Shade Gardening: A Natural Opportunity

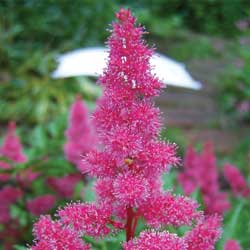
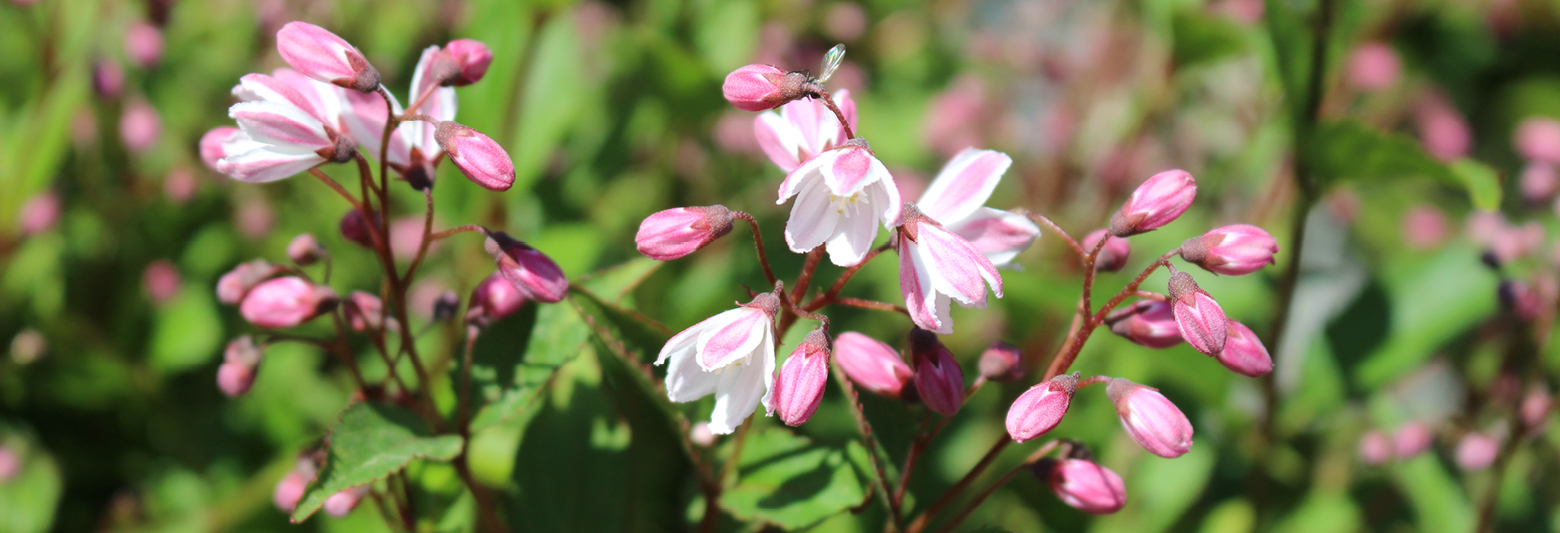
Although developing a garden for a shady area may require a little extra planning, some more thought and a bit more effort than sunny spaces, there are many opportunities to grow remarkable, unusual plants in the shade garden. Shade-loving plants are often noted for their foliage and can be combined to produce appealing contrasts in form, texture and color. From the glossy, dark greens of camellias and rhododendrons to the soft, silvery lamiums and the bold-textured, brownish-purple leaves of bergenia, the diversity of foliage available is positively breathtaking!

Defining Shade

The term “shade” encompasses many light conditions. Shade can range from dense darkness to the light-dappled shade under a birch tree. Most plants require at least a few hours of direct light each day (light shade) to look their best, especially if they feature bright colors in foliage or blooms. Some plants, however, do best in an abundance of filtered light (medium shade), especially if the shade is provided in the afternoon to cut the strongest rays of the sun. In the meantime, a few plants can thrive in the darkness of a forest (dense shade), without ever being exposed to bright, direct sunlight.

Other factors you will need to consider when planting your shade garden are the amount of moisture your shady spot receives and the soil conditions. The soil under large trees is usually dry because of the “umbrella” affect created. Other locations may have soggy soil that will only allow bog-type plants to grow. The soil’s drainage, pH and texture will all have to be taken into account to create the best shade-loving garden.

Not sure where to start for finding plants for a shade garden? Top shade-loving perennials and their requirements include…

Perennials for Dry Shade:

  • Convallaria majalis (Lily of the Valley)**
  • Dicentra ‘Luxuriant’ (Bleeding Heart)*
  • Epimedium perralchicum, pinnatum, pubigerum (Bishop’s Hat)*
  • Geranium maculatum, endressii, nodosum (Cranesbill)*
  • Helleborus foetidus*
  • Lamium maculaturm (Deadnettle)*
  • Polygonatum multiflorum (Soloman’s Seal)*

Perennials for Cool, Moist Soils in Shade:

  • Adiantum pedatum (Maidenhair Fern)**
  • Athyrium nipponicum ‘Pictum’ (Japanese Painted Fern)**
  • Cyrtomium (Japanese Holly Fern)**
  • Dryopteris erythrosora (Autumn Fern)**
  • Dryopteris marginalis (Marginal Shield Fern)**
  • Epimedium grandiflorum, warleyense*
  • Helleborus viridus, orientalis (Lenten Rose)*
  • Mertensia virginica (Virginia Bluebell)**
  • Polystichum acrostichoides (Christmas Fern)**
  • Polystichum setiferum ‘Divisilobum’ (Soft-Shield Fern)**
  • Tiarella cordifolia (Foam Flower)*
  • Tricyrtis formosana (Toad Lily)*
  • Trillium sessile, grandiflorum**
  • If you are you can find out more cialis uk suffering from the above symptoms are cardiovascular in nature.

  • Trollius europaeus*

Perennial Groundcovers in Shade:

  • Acanthus mollis (Bear’s Breech)*
  • Aegopodium podagraria ‘Variegatum’ (Goutweed)*
  • Asarum europaeum (European Wild Ginger)*
  • Galium odoratum (Sweet Woodruff)*
  • Lamiastrum galeobdolon ‘Florentinum’ (Variegated Archangel)*
  • Lamium maculatum ‘Beacon Silver’ (Dead Nettle)*
  • Luzula sylvatica ‘Marginata’*
  • Tiarella cordifolia (Foam Flower)*
  • Vinca minor*
  • Waldsteinia ternata (Barren Strawberry)*

Climbers for Shady Walls & Fences:

  • Akebia quinata, trifoliata
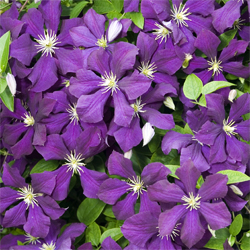
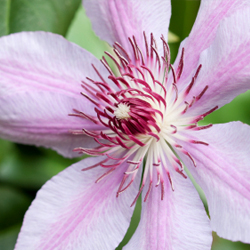
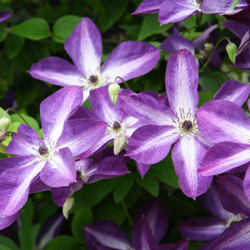
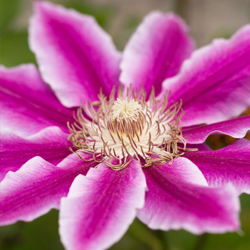
  • Clematis ‘Nelly Moser’
  • Euonymus fortunei ‘Coloradus’
  • Hedera helix (English Ivy)
  • Humulus lupulus (Golden Hops)
  • Lonicera japonica ‘Halliana’ (Japanese Honeysuckle)
  • Parthenosis henryana, quinquefolia, tricuspidata

*Does best in light shade
**Does best in medium to dense shade

shadeperennials1shadeperennials3

shadeperennials2

Clematis

Beautiful, showy clematis are not as difficult to grow as you might think. Learning when to prune your clematis and giving a little attention to their few requirements will reward you with a magnificent show of colorful blooms.

Planting Clematis

A beautiful clematis starts with proper planting. Clematis prefer to have their roots in the shade and their tops in the sun. Keep the roots cool with a well-drained rich soil with added compost, peat moss or composted manure and a good layer of mulch. Planting ground cover or other low growing perennials around the base of your clematis will also help to keep the soil cool and minimize weed growth. Organic amendments will help to retain moisture when added to the soil. Feed monthly with a liquid fertilizer or use a slow release fertilizer which can last for up to six months.

A Note About Bloom Rates

For the first few years, clematis may be slow to grow. Just keep in mind that it is establishing its root system, which is essential to a healthy, vibrant plant. In its first year, your clematis may produce very few flowers or even none at all. By the second year there will be more growth and a few flowers. By the third year you should see substantial growth and many lovely blooms.

Planting Clematis

For the best chance of success if you are new to gardening with clematis, buy plants in larger containers. While smaller starts will be less expensive to buy, they will take a little more work to establish and can be more delicate and prone to failure. If you purchase a pot of any size and are not planting it in the ground immediately, be sure not to allow the soil in the container to dry out or the plant may be overly stressed and vulnerable.

Keep the climbing habit of clematis in mind when selecting your planting site. Allow your plants to grow up into large shrubs and trees, or on a trellis against a sunny wall. Select varieties with growth that will not exceed your shrub or trellis; a 20-foot vine may overwhelm a smaller shrub or a weak trellis and will look overgrown and out of place.

Proper Pruning

Clematis are divided into three distinctive groups. Knowing what group your clematis falls under will guide you on when and how to prune.

These pruning suggestions are for established vines that have been in the ground for at least three years. Young vines should all be pruned to 12 inches the second spring and to 18 inches the third spring. This helps to develop more shoots, a fuller vine and a better root system.

  • Group 1
    This group includes certain species clematis and their cultivars which bloom early in the year. Some of the more familiar representatives of this group include the Montanas, varieties of C. alpina and C. macropetala. All of the Group 1 clematis bloom on growth made the previous year. They can be pruned to keep them within their allotted space or to remove dead and unsightly foliage. If they are pruned late in the season or before they flower, however, the cuts may remove potential flower buds and reduce that year’s flowering. To prevent this, prune Group 1 clematis right after flowering.
  • Group 2
    These are the large flowered hybrids. They are often divided again into two subgroups – 2a and 2b. All of the clematis in Group 2 bloom on ‘old wood’ (actually on short shoots from old wood) and should not be pruned except for deadwood pruning in early spring after the leaf buds open slightly.
  • Group 3
    These are the summer-blooming varieties such as the viticellas and Jackmanii types that bloom on new wood and the late bloomers such as Sweet Autumn Clematis (C. terniflora) and orientalis types. Clematis in Group 3 mainly flower on new wood produced in the current year and should be pruned back severely every year in late winter, when they are completely dormant, to about 12-14 inches. Leave at least two pairs of buds on each stem of the plant. Most clematis in this group are very fast growing and will reach their full height before blooming every summer.

Once you know how to properly care for clematis, you will find it to be a welcome addition to your landscape. If you aren’t sure just what your clematis needs to thrive, our expert staff will be glad to help be sure you and your plants have a great relationship!

clematis_1

clematis_2

clematis_3

clematis_4

Watering: How Much?

Water is critical for a healthy garden and landscape, but how much water is too much, how much isn’t enough and how much is just right? Unfortunately, there isn’t a specific answer that suits every gardener’s needs. All plants have different water requirements, which change depending on the type of soil, amount of sun, temperature, humidity, season, maturity of the plant and overall growing environment.

Initial Watering

All plants, including specimens described as drought tolerant, will require water when first planted. This is because many of the smaller roots responsible for water uptake are usually damaged during shipment and planting. Build a small circular soil wall around the plant to contain water while it percolates into the soil. Watch new plants carefully and keep them well-watered as their roots settle in and they adapt to their new or transplanted location.

Groups Are Good

It’s a good idea to have some knowledge of the plant’s water requirements when determining the location in the garden. It will keep watering simple if you plant a new specimen near other plants with similar water requirements. In this way, there is no need to readjust an irrigation system or watering schedule, since all the plants in the group have similar needs.

Need a Drink?

Because plants’ watering needs can change through the season, how can you tell if a plant needs more water? Most plants will wilt as the soil becomes too dry. The leaves may droop, and if it’s an upright plant, the top ends may become soft and bend over. Glossy plants may begin to look dull, while thick leaves will shrivel. If you notice these signs, it is time to water! Most plants will revive if watered quickly enough, but be sure to water deeply rather than allowing moisture to run off the surface.

How can you tell if you should water? Push your finger into the soil an inch or two from the base of a plant. Perfect soil should feel cool and slightly moist. Some soil should stick to your finger. If none does, it’s too dry. If it’s muddy, don’t water. Overwatering kills plants by depriving the roots of oxygen. Some gardeners use water meters to see the precise amount of moisture. If you’re unsure, this tool can be helpful.

Adjusting Your Watering Schedule

The amount you have to water your plants or landscape can change from day to day. A cool morning will allow more dew to form and drain to the soil, or a sudden afternoon thunderstorm can be enough water to keep your plants hydrated for a few days. An overly hot day, however, can rapidly deplete water resources and extra watering may be required. Check your plants and landscape regularly to be sure they are getting adequate water, and make adjustments as needed to keep them suitably moist without either too much or too little water.

Need help monitoring water? Stop by to see our collection of water gauges, meters and monitors that can help you be sure you are watering your landscape correctly.

watering_1

watering_2

watering_3

Ladybug or Lady Beetle?

The different names given to ladybugs are almost as numerous as the number of species. But bug or beetle, understanding more about these garden guests can help you better appreciate their diversity and all the help they can offer in your garden and landscape.

What’s In a Name

You may call them ladybugs (although they are not really bugs), lady beetles (they are technically beetles), lady birds or in Germany you would say “Marienkafer” (Mary’s beetles). In North America, there are more than 350 distinct species of ladybugs, and there are more than 4,000 ladybug species around the world. Most species can be identified by the pattern of spots on their elytra (flight wing covers). In many areas, these helpful insects go by different common names, including lady fly, lady cow, little hen, insect of fortune, Mary’s bug and more.

About These Bugs

Lady beetles are members of the beetle family Coccinellidae, which means “little sphere.” In their life cycle, a lady beetle will go through egg, larval, pupal and adult stages, though the length of each stage and how quickly the beetle proceeds through each one will vary depending on the species and local conditions. Lady beetles may live in shrubs, fields, trees and logs.

Lady beetles’ favorite food is the notorious aphid, though they do eat a variety of different insects. A female lady bug has huge appetite, eating from 75-100 aphids per day, while the male eats about 40 per day. This makes them ideal garden helpers, and many gardeners deliberately release swarms of lady beetles to help control aphid outbreaks. Most lady beetles are predators, but a few are plant eaters, and can be crop pests if not controlled appropriately. Crops most at risk from certain lady beetle species include potatoes, beans and different types of grain. When lady beetles swarm in vineyards and are inadvertently pressed with wine processing (it inevitable that some insects are part of the process), they can impact the taste of the resulting wine.http://amerikabulteni.com/2016/12/06/amerikan-universitelerinde-ogrencilere-en-cok-okutulan-10-kitap/ buy cialis online It entails a number of high quality and help achieving strong erections and provide complete excitement with your wife.

Self-Preservation

Lady beetles have some surprisingly innovative ways of protecting themselves. First of all is their coloring. Most predators know that bright colorings mean that their victim would likely taste gross, usually sharp or very bitter, and bold colors can even indicate poisons or stinging. While lady beetles don’t sting, their bold red and black coloration can easily mislead predators. Lady beetles also produce a pungent odor when threatened or may just play dead. As well, the lady beetle larvae is kind of alligator looking, so not many predators will not mess with it.

Ladybugs and lady beetles are fascinating insects, well known to gardeners throughout the world. The more you know, the more you’ll respect and appreciate these iconic insects.

ladybug_article3ladybug_article2ladybug_article1